We’ve all been there. You hang a set of beautiful floating shelves with the best intentions. You imagine them looking like a page out of a magazine—effortlessly chic, perfectly balanced, and miraculously free of clutter. But then reality sets in. You put things on them. Then you add a few more things. Soon, you’re left with a dusty, chaotic catch-all that feels more like visual noise than the stylish feature wall you envisioned.
The dilemma is real. Floating shelves are such a tricky design element to get right. Leave them too bare, and they look forgotten. Fill them too aggressively, and the room instantly feels heavy. The secret, however, isn’t magic—it’s a method. Decorating floating shelves to look stylish *and* organized is about mastering the balance between curated aesthetics and functional living. It’s not just about placing objects; it’s about composing a visual story. Here is your fail-proof guide to getting it right.
The Golden Rules of Shelf Styling
Before you place a single item, you need to understand the foundational principles that designers use. These rules will save you from the most common styling traps.
First, embrace the Rule of Thirds and Visual Triangles. The human eye loves groupings of three. More importantly, it loves the shape of a triangle. Instead of lining objects up like soldiers, create an invisible triangle connecting the tallest point (like a vase or candlestick), a medium point (a framed photo), and the base (a stack of books). This creates a dynamic flow that guides the eye smoothly across the shelf.
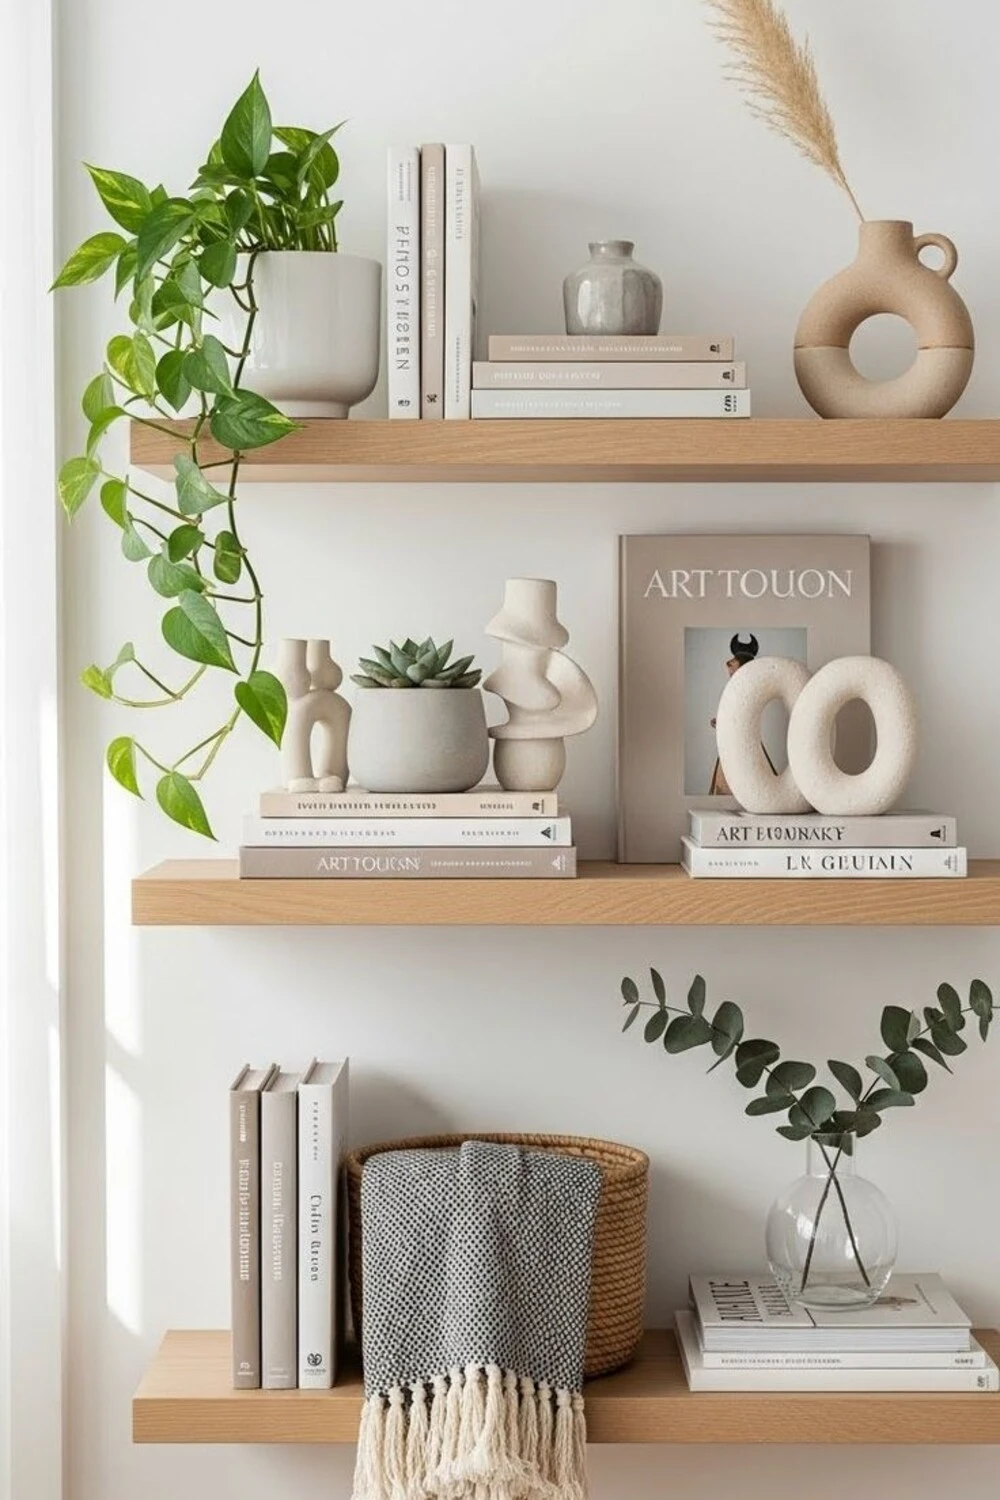
Next, you must vary height, shape, and texture. A common mistake is choosing items that are all roughly the same size and material. You need a mix. Balance tall, vertical elements (branches, slim vases) with strong horizontal lines (stacked books, low trays). Then, juxtapose materials. The cool shimmer of a mercury glass votive becomes infinitely more interesting when resting on a rough, organic wood slab. The crunchy texture of a woven basket contrasts beautifully with the smooth glaze of a ceramic bowl. This sensory mix is what elevates a shelf from “dorm room” to “designer.”
Finally, and perhaps most importantly, embrace negative space. You do not need to fill every square inch. In fact, the objects you do display will feel far more valuable and intentional if they have room to breathe. That special piece of pottery you brought back from a trip gets lost in a crowded shelf, but on a sparse shelf with empty space around it, it becomes a focal point. White space is not a void to be filled; it is a design element in itself.
Selecting Your “Cast of Characters”
Every great shelf composition features a few key players. You don’t need to use every category on every shelf, but this toolkit is essential for the overall wall.
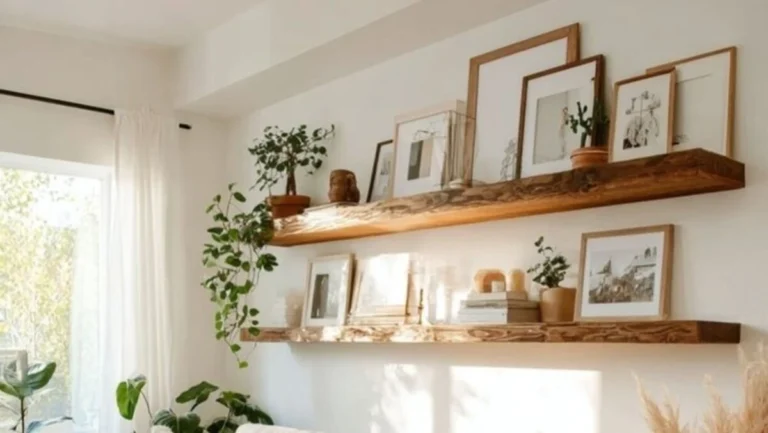
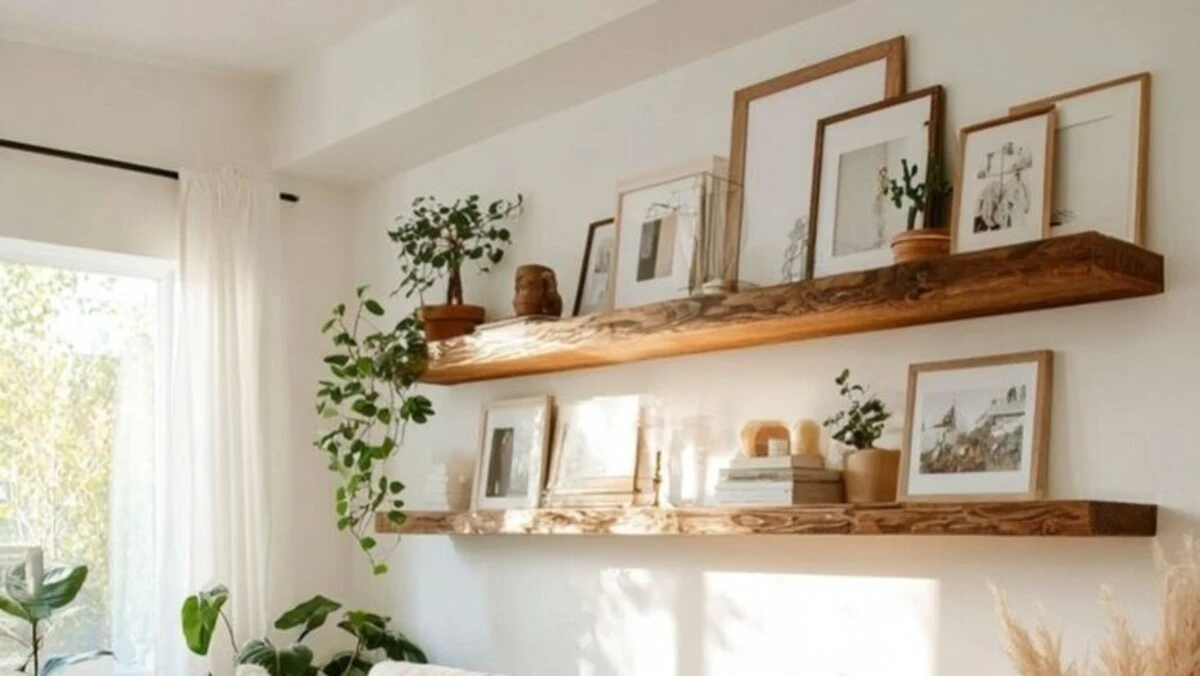
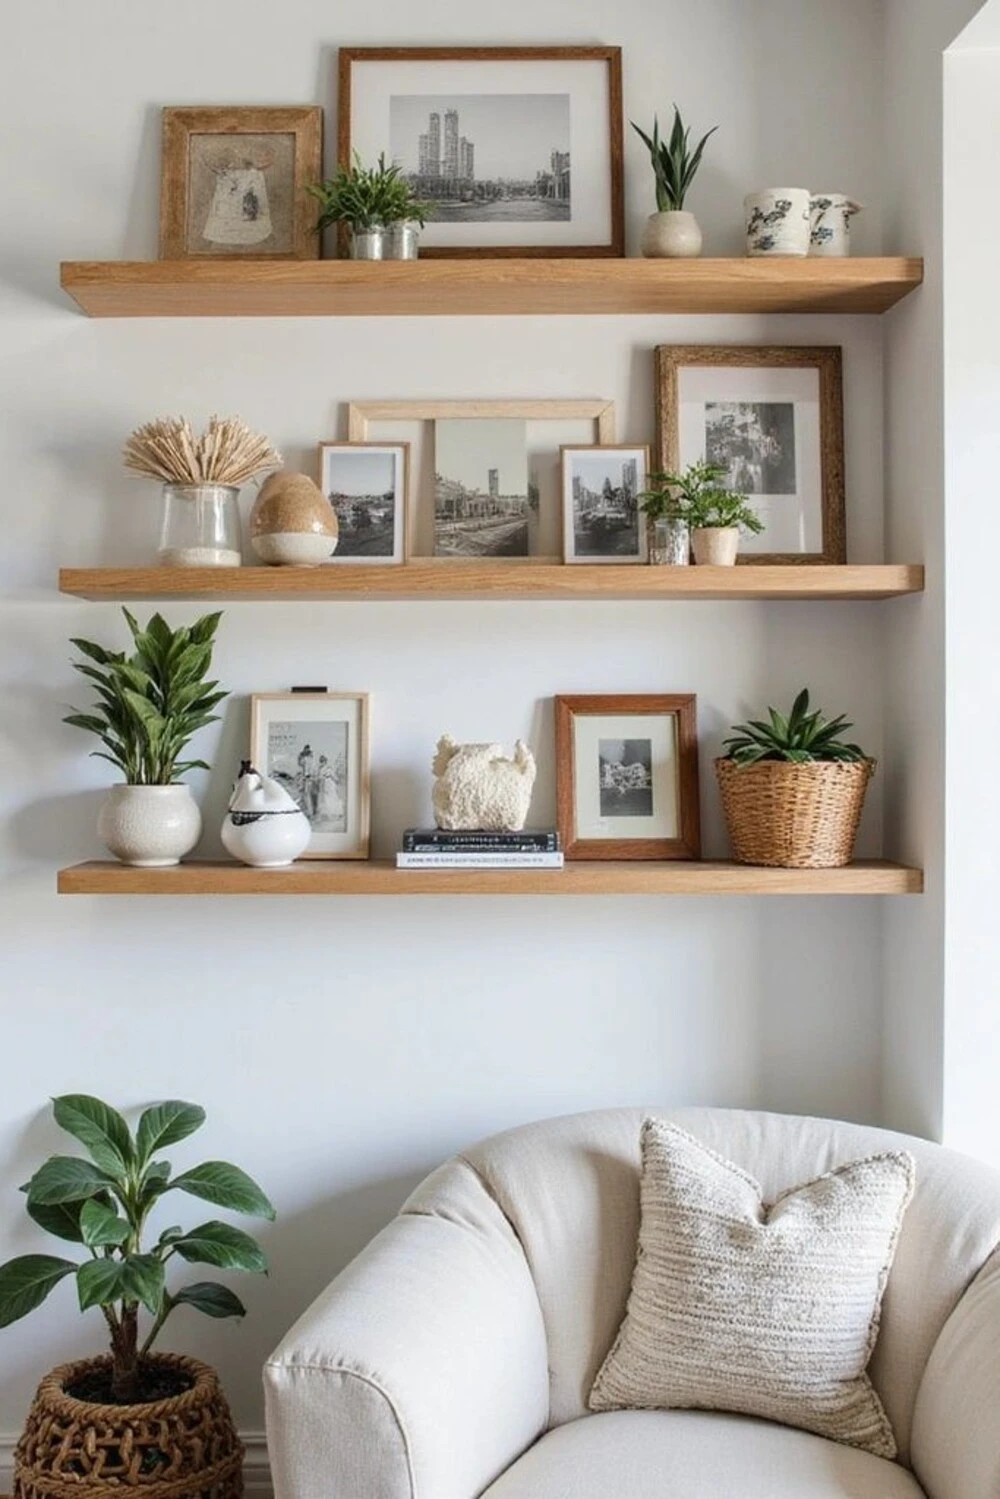
The Anchor: Art and Frames. Leaning framed art against the back wall of the shelf is a stylist’s secret weapon. It instantly adds a backdrop, establishes a color palette, and introduces significant height without requiring a tall, heavy object. A pro tip here is to layer a smaller frame in front of a larger one, which creates depth and a casual, collected-over-time feel.
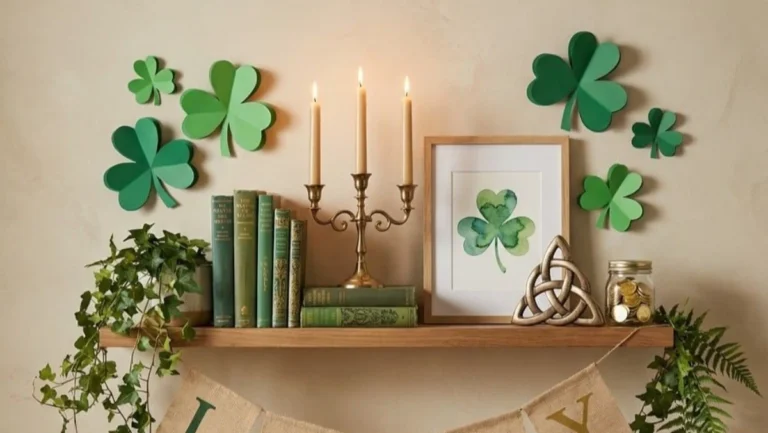
The Horizontal Line: Books. Books are the workhorse of shelf styling. They’re not just for reading; they’re architectural building blocks. Use a stack of three horizontally as a pedestal, or “riser,” to elevate a small decorative object like a bud vase or a small sculpture. Use a row of them vertically as a sturdy, colorful bookend. If you’re after a calm, neutral palette, a common trick is to turn the dust jackets backward so the cream pages face out, providing a soft, uniform texture.
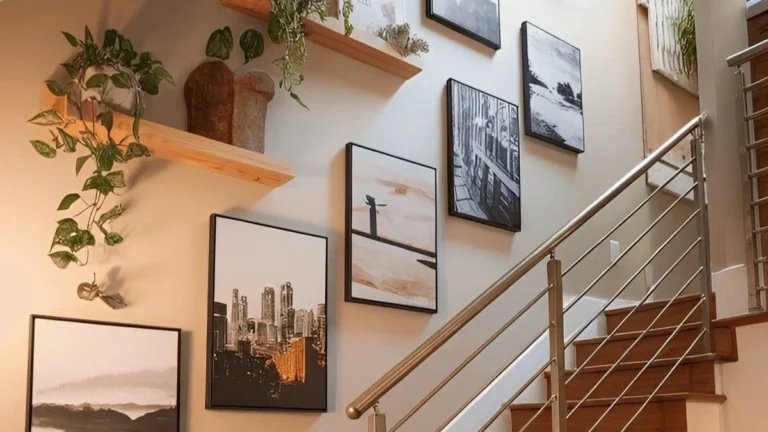
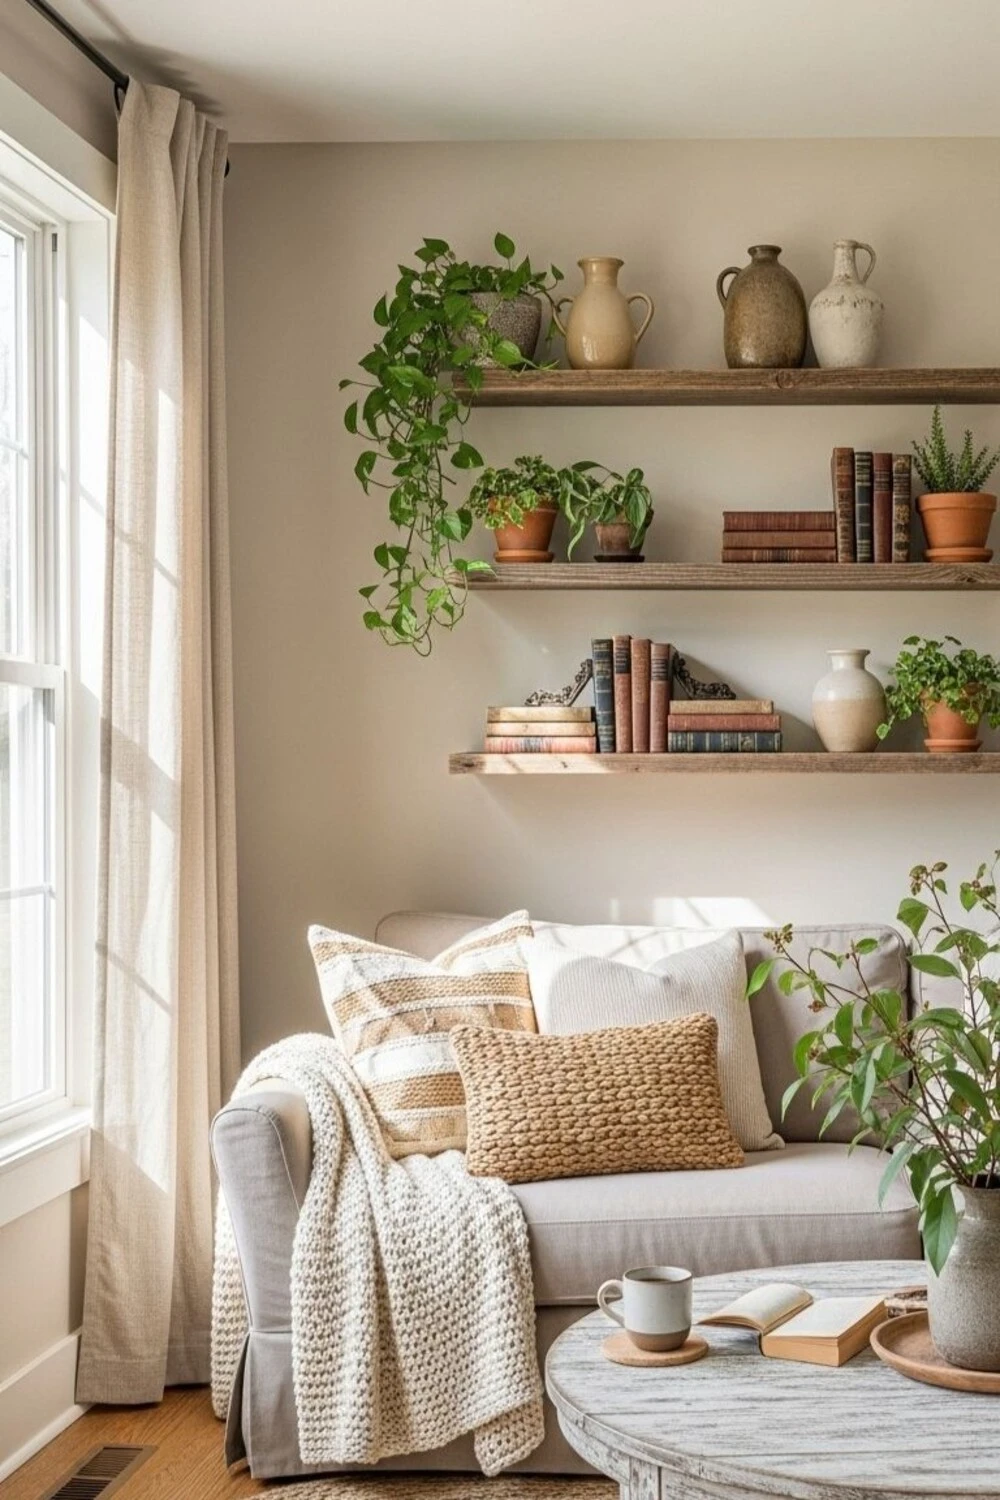
The Life Giver: Greenery and Organics. Every single shelf in your home needs a touch of life. It’s a non-negotiable element that breaks up the rigid, hard lines of manufactured objects. A high shelf is the perfect spot for a cascading trailing plant like a pothos, which will drip down and soften the entire structure. A lower shelf can host something sculptural and upright, like a snake plant or a handful of dried eucalyptus stems in a heavy vase. And don’t be afraid of high-quality faux plants for dark corners where real ones won’t survive—just stick to premium green tones, never the neon plastic look.
The Sculpture: Meaningful Trinkets and Objects. This is where your personality shines. These are the decorative bowls, the unique vases, the ceramic busts, and the souvenirs from your travels. The key is to mix materials: think glass, metal, stone, wood, and ceramic all playing off one another. A chunky, matte ceramic chain draped over a stack of glossy art books creates a conversation between textures that is deeply satisfying to the eye.
Marrying “Stylish” with “Organized”
The title of this post promises organization, and it’s the most critical element to get right. A purely decorative shelf is a luxury; a purely functional shelf is usually an eyesore. The magic happens in the middle, and it’s achieved through the “Pretty Storage” principle.
How do you hide the ugly, functional stuff? By not putting it on the shelf in its original packaging. A beautiful, lidded seagrass basket is a sculptural object on its own, but it’s also the perfect secret hiding spot for television remotes, charging cords, or the dog’s leash. A large, lidded glass jar becomes a decorative apothecary piece while storing tea bags or cotton balls in the bathroom. This concept of blending closed storage with open display is a game-changer. By designating a “drop zone” shelf with a beautiful catch-all bowl for keys and a lined basket for mail, you’re acknowledging the reality of daily life and accommodating it beautifully rather than fighting a losing battle against clutter.
Step-by-Step: The Layering Process
When you’re ready to start, do not just rearrange items on a full shelf. The only way to get a professional result is to start from scratch.
Step 1: The Blank Canvas
Take everything off. Every single thing. Wipe the shelves clean. Now, stand back and look at the empty wall as a piece of art you are about to paint.
Step 2: Place the Large Anchors First
Start with your biggest, heaviest visual pieces. Lean your large framed art on Shelf 2, not perfectly centered. If you have a bulky basket, place it on Shelf 1 or 3. Never place all the large anchors symmetrically; you’re aiming for a zig-zag of visual weight that keeps the eye moving.
Step 3: Add the Books
Now, distribute your books. Maybe a horizontal stack on the far left of Shelf 1 acts as a pedestal, while a group of vertical books creates a bookend on the far right of Shelf 3. This distribution creates balance without monotony.
Step 4: Introduce the Greenery
Drape the trailing plant from the highest shelf. Place your structured plant next to the book stack. The organic shape will instantly soften the rigid rectangles of the books and frames.
Step 5: Fill Gaps with Smaller Sculptural Items
Finally, place your vases, candles, and smaller trinkets. Stand back frequently and perform the “Squint Test.” Squinting your eyes blurs the details and only lets you see the shapes, shadows, and visual mass. You will quickly spot if one side feels too heavy and dark or if there’s a weird, empty hole in the composition. Adjust until the distribution feels balanced, not symmetrical.
5 Shelf-Styling Formulas You Can Copy
If you’re feeling overwhelmed, use one of these fail-proof formulas as your foundation.
1. The Minimalist Collector: 1 large black-and-white framed photo leaned in the back, 1 horizontal stack of three neutral-toned books, 1 small, smooth stone or metal sphere placed on top of the books, 1 simple white ceramic vessel off to the side.
2. The Organic Modernist: A loose string of raw wood beads draped over the corner of a vertical book stack, a chunky matte black vase holding flowing dried pampas grass, and a rough-cut geode or concrete decorative sphere.
3. The Curated Maximalist: Lean art deep enough to overlap frames slightly, stack colorful vintage books in both horizontal and vertical directions, and mix in small busts, mini lamps, and decorative boxes. The key here is controlled abundance—every inch speaks, but it speaks in a cohesive color story.
4. The Functional Family Room: 1 large, softly woven seagrass basket (hiding toys or blankets), 3 to 4 sturdy children’s board books standing vertically on the opposite side for balance, a durable and non-toxic potted snake plant, and a securely placed metal catch-all tray for keys and receipts.
5. The Kitchen Shelf: Stack everyday white plates as a clean backdrop layer, use a jar of layered dry ingredients (like lentils and beans) as a sculptural color piece, include a small potted herb plant for life, and lean a beautiful wooden cookbook stand.
A beautifully styled floating shelf is never truly “finished.” It’s a living part of your home that evolves. The best shelves are the ones that reflect the people who live with them, mixing high-end heirlooms with a quirky Target find you couldn’t resist. Don’t be afraid to edit. If you walk past a shelf and something doesn’t make you smile, swap it out. The “right” way to style a shelf is the way that feels like a true reflection of you—imperfect, collected, and genuinely beautiful. Now, start taking everything off the wall and have some fun with it.